How to Make Custom Real Estate Videos: A Complete Guide
Creating custom real estate videos requires planning your content, selecting the right recording equipment or software, filming property footage, editing clips with music and text, and sharing the final video across your marketing channels. You can produce professional custom real estate videos by using templates from platforms like WeVideo, Canva, or FlexClip, or by filming with a smartphone gimbal or camera and editing the footage yourself.
Video marketing remains a core strategy for real estate professionals aiming to showcase properties effectively and reach more potential buyers. Whether filming walkthrough tours or promotional listings, custom videos highlight unique property features and differentiate your listings in a competitive market.
Key Takeaways
- Plan your video content and filming route in advance to produce organized, professional property videos
- Select template-based platforms for quick creation or film manually with smartphones and cameras for greater customization
- Optimize videos for each platform by using landscape format for listings and portrait format for social media
Planning and Scripting Your Custom Real Estate Videos

Effective real estate video marketing starts with thorough planning and a structured script tailored to your target buyers. Your property video should have clear objectives, a visual roadmap, and dialogue that emphasizes what matters most to your intended audience.
Identifying Your Target Audience and Objectives
Define your real estate listing video audience before filming. First-time homebuyers, luxury property investors, and commercial tenants each require different messaging.
Consider these audience factors:
- Demographics: Age, income level, and family status
- Buyer motivation: Investment potential, lifestyle upgrade, or downsizing
- Property type: Single-family homes, condos, or commercial spaces
- Geographic preferences: Urban, suburban, or rural locations
Align your objectives with specific marketing goals—lead generation, brand building, or driving immediate property inquiries. Listings with videos receive 403% more inquiries than those without.
Set measurable goals for each video. Track metrics such as view duration, click-through rates to listing pages, and contact form submissions. Use this data to refine your future real estate videos.
Creating a Compelling Storyboard
A storyboard organizes your property video shot by shot before filming. Plan the filming route as you would conduct an in-person viewing.
Begin with exterior shots to establish curb appeal and neighborhood context. Include local amenities such as parks, schools, and transit options when they add value.
Your storyboard should include:
- Opening shot (exterior or signature feature)
- Entrance sequence showing front door or lobby
- Main living spaces in logical flow
- Key selling points and unique features
- Bedroom and bathroom sequences
- Outdoor spaces or views
- Closing shot with call-to-action
Sketch simple frames or use property photos from your walkthrough. Note camera movements—pans, slides, or static shots—for each scene. This preparation ensures you capture all necessary footage and maintain a cohesive narrative.
Writing Effective Scripts for Property Videos
Your script determines whether viewers stay engaged. A strong real estate video script hooks attention in the first three seconds, highlights benefits, and closes with a clear call to action.
Keep your script conversational and benefit-focused. Replace generic descriptions with specifics, such as “three spacious bedrooms with natural light.” Avoid real estate jargon that may confuse viewers.
Structure your script as follows:
| Section | Duration | Purpose |
|---|---|---|
| Hook | 3-5 seconds | Grab attention with best feature |
| Introduction | 10-15 seconds | Address location and property type |
| Feature highlights | 30-60 seconds | Showcase key selling points |
| Call to action | 5-10 seconds | Direct viewers to next step |
Write for your audience’s priorities. Families focus on school districts and yard space. Young professionals value commute times and entertainment options. Investors look for rental potential and neighborhood growth data.
Read your script aloud before filming to ensure it sounds natural. Time your script to fit your planned video length—social media videos run 30-60 seconds, while website listings and property portal pages can run longer with more detail.
Choosing Tools, Templates, and Video Styles
Your choice of video maker, template, and production method determines the quality of your final product and the speed of your workflow. These decisions directly impact your ability to produce videos efficiently and maintain brand consistency.
Selecting the Right Real Estate Video Maker
Select a real estate video maker that matches your technical skills and production needs. FlexClip offers AI-powered editing and access to over 4 million royalty-free media assets. Animaker specializes in animated content with character features and 2D drawing tools. Invideo provides more than 5,000 templates, advanced editing tools, and team collaboration features.
Assess whether you need free real estate video maker options or paid solutions with advanced capabilities. Free platforms like Canva offer basic editing and templates without download restrictions, while Animoto’s free tier limits sharing to links only.
Evaluate export options and social media integration. WeVideo enables direct uploads to TikTok and YouTube, streamlining your distribution. Review rendering speed, storage capacity, and support for brand watermarks and custom fonts to ensure consistent branding across all property videos.
Exploring Real Estate Video Templates and Customization
Video templates speed up production by providing pre-built structures you can tailor with your footage and branding. Property listing templates usually include spaces for room shots, property details, and contact information. Agency promo templates highlight your team’s expertise and client testimonials.
Common template categories include:
- Property listings and virtual tours
- Agent introduction videos
- Company promotional content
- Neighborhood and community highlights
- Selling points showcases
Customize templates by replacing stock visuals with your footage, adjusting color schemes, and incorporating your logo and fonts. Most platforms allow you to modify text animations, transitions, and background music. Real estate video templates should maintain visual consistency while letting you emphasize each property’s unique features through layout and scene order adjustments.
AI-Driven Real Estate Video Generation
AI real estate video makers assemble videos from text prompts or article inputs, analyzing your description to select relevant footage from stock libraries. You can generate a video by entering a prompt like “luxury waterfront property tour,” and the AI selects visuals, subtitles, voiceover, and music.
These tools use deep learning to match your text with high-quality images and video clips. After generation, you can swap scenes, enable text-to-speech narration in multiple languages, and adjust timing before finalizing. AI-driven video creation works well for producing multiple listing videos quickly or testing various marketing messages without manual editing.
Filming, Editing, and Enhancing Your Videos
Quality footage forms the foundation of effective property listing videos. Strategic editing and professional enhancements transform raw clips into compelling real estate marketing videos that drive buyer engagement.
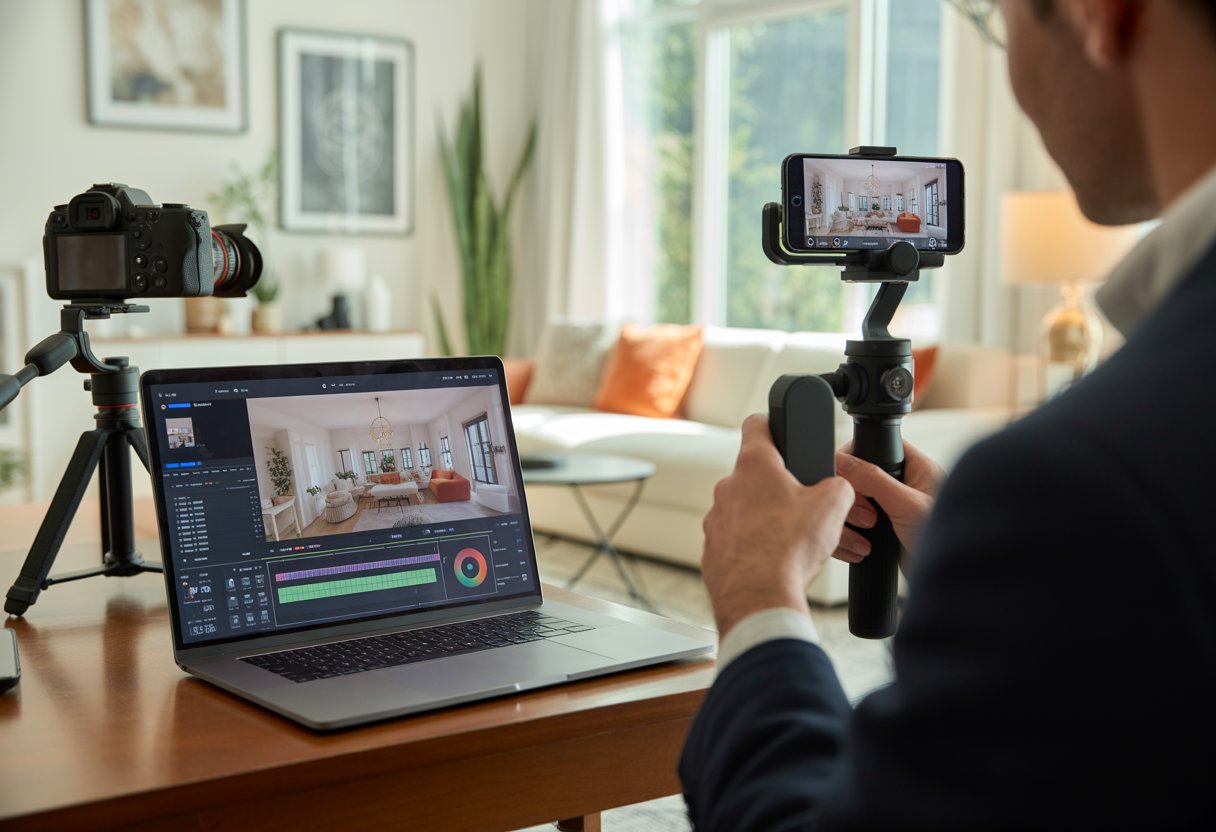
Capturing High-Quality Footage and Photos
Use proper equipment and lighting to achieve professional results. Stabilize your camera with a gimbal to eliminate shaky footage. Schedule shoots during daylight hours to maximize natural light.
Plan your shots to capture every important space efficiently. Move slowly through each room, allowing viewers to absorb details. Include wide shots for entire rooms, medium shots for specific areas, and close-ups of unique features like custom cabinetry or high-end appliances.
Adjust camera settings to maintain consistent exposure as you move between bright and dim spaces. Capture multiple takes from different angles for editing flexibility. Review your footage immediately after filming to confirm you haven’t missed critical areas or encountered technical issues that require reshooting.
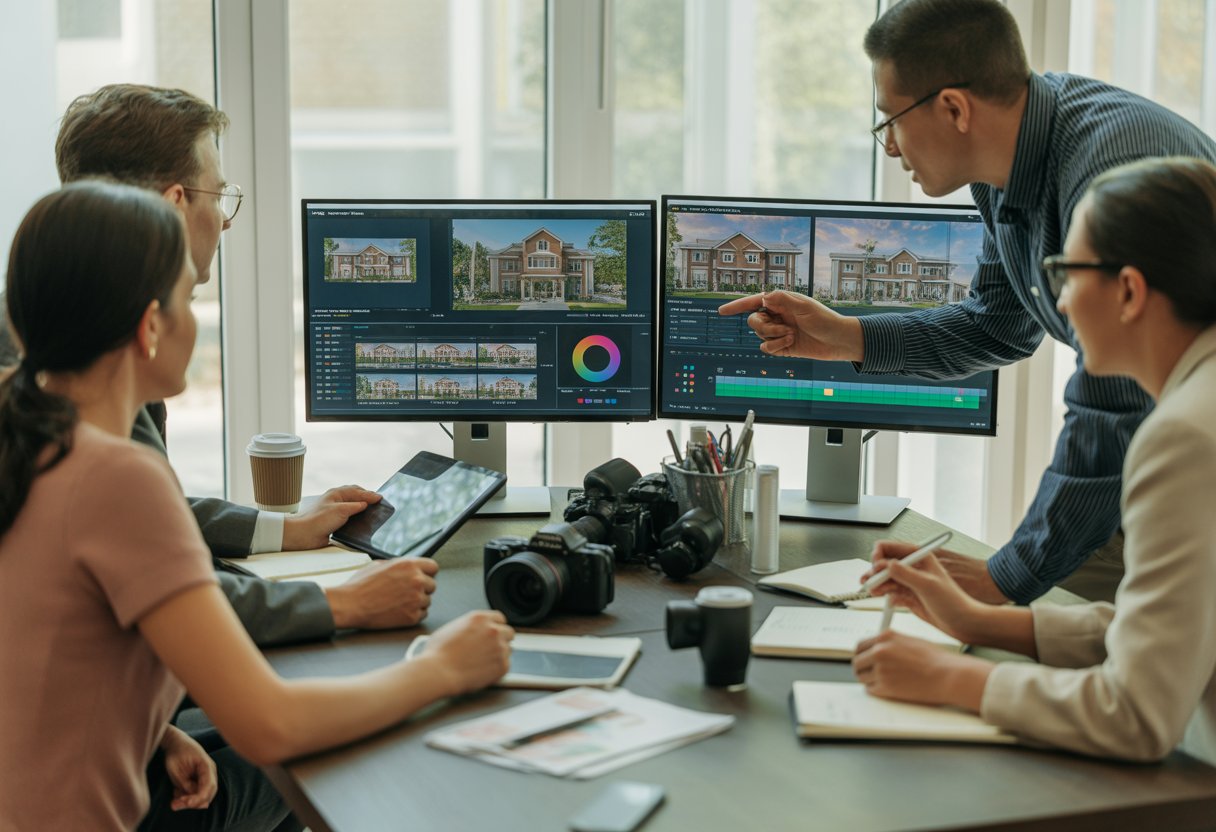
Editing Techniques for Professional Results
Organize your footage into folders labeled by room or property section before editing. This approach streamlines your workflow and prevents confusion when locating specific clips. Review all footage and mark the best takes for the final cut.
Keep real estate marketing videos concise—ideally between one and two minutes—to maintain engagement. Remove unnecessary footage and focus on showcasing the property’s strongest features. Use simple transitions like cuts or fades to preserve a polished, professional appearance.
Adjust color balance, saturation, and exposure for visual consistency. Control pacing by varying shot lengths: use longer clips for spacious rooms and shorter shots for detailed features. Trim each clip to eliminate camera wobble and hesitation at the start and end.
Adding Graphics, Lower-Thirds, and Sound Effects
Display lower-thirds with property details—such as square footage, bedroom count, or price—at the bottom of the screen. Keep graphics simple, readable, and use high-contrast colors that align with your brand. Show each lower-third for 3-5 seconds to ensure viewers can absorb the information.
Incorporate subtle sound effects like door opens or footsteps to enhance the viewing experience, but use them sparingly to avoid distraction. Select background music that matches the property’s style, such as energetic tracks for modern homes or softer music for luxury properties.
Use text overlays to highlight unique selling points, like recent renovations or energy-efficient upgrades. Place graphics to draw attention without covering key visuals. Ensure all text is large enough for mobile viewing, as many prospects will watch on smartphones.
Branding, Voiceovers, and Call-to-Action Elements
Include your logo, contact details, and brokerage information in both the opening and closing sequences. Consistent branding fosters recognition and makes it easy for buyers to reach out. Develop a reusable intro template for all property listing videos to maintain a cohesive professional identity.
Record voiceovers to provide context and emphasize features not immediately visible on screen. Speak clearly and with confidence, using a professional tone. Script voiceovers in advance to ensure all key property details are covered efficiently.
Conclude with a clear call-to-action that directs viewers to schedule a showing, visit your website, or call for more information. Present this both verbally and with on-screen text, offering multiple contact options to suit different preferences.
Publishing, Distributing, and Optimizing Real Estate Videos
Exporting Videos for Different Platforms
Export listing videos in landscape format at 1920×1080 resolution (16:9 aspect ratio) for property portals and websites. Use MP4 format with the H.264 codec for broad compatibility.
Social platforms require tailored formats. Instagram, TikTok, and Facebook Stories perform best with vertical videos at 1080×1920 resolution (9:16 aspect ratio). Use landscape orientation for YouTube and LinkedIn, and square 1080×1080 format for Instagram feed posts.
Set bitrate between 8-12 Mbps for 1080p videos to balance quality and file size. Keep files under 1GB for smooth uploading and playback across platforms.
Optimizing Videos for Social Media and Listings
Add captions or text overlays, as many social media viewers watch without sound. Present property highlights, pricing, and location details within the first three seconds to quickly capture attention.
Optimize videos for search engines by using descriptive titles, detailed descriptions, and relevant tags. Include the property address, neighborhood, features, and price in your video metadata. Create custom thumbnails that highlight the property’s best attributes.
Apply platform-specific strategies:
- Instagram Reels and TikTok: Keep videos under 60 seconds with trending music
- YouTube: Use longer 3-5 minute tours with chapters and timestamps
- Facebook: Use square or vertical formats with auto-play features
- Property portals: Feature horizontal tours between 1-3 minutes
Measuring Performance and Improving Engagement
Track view counts, watch time, and completion rates to identify which property video content attracts your target audience. A completion rate above 50% signals strong engagement, while lower rates suggest the need to shorten videos or improve pacing.
Monitor engagement metrics such as likes, comments, shares, and click-through rates to your real estate listing pages. Listings with videos receive significantly more inquiries, with some studies citing a 403% increase compared to listings without video content. Track the number of leads or inquiries each video generates to measure your return on investment.
Use platform analytics to pinpoint your best-performing content. Identify which property features, video lengths, and posting times yield the highest engagement. Test various thumbnail images, opening shots, and calls-to-action to optimize results.
Adjust your strategy using performance data. If specific property types or neighborhoods generate more views, focus your content creation on those segments. When shorter videos outperform longer tours, modify your editing process to prioritize brevity and impact.