Guide to Real Estate Explainer Videos
As a real estate professional, your success depends on your ability to communicate complex information in a way that is easy for your clients to understand. Whether you are guiding a first-time buyer through the mortgage process or helping a seller understand market conditions, your role is that of an educator. Real estate explainer videos are a powerful tool designed to make this part of your job simpler and more effective. They are short, engaging videos that break down a specific topic into a simple, visual format.

These videos serve as digital assets that work for you around the clock, answering common client questions and demonstrating your expertise. By incorporating them into your marketing, you can save time, build deeper trust with your audience, and position yourself as a knowledgeable authority in your market. This guide will walk you through the process of planning, creating, and distributing explainer videos that enhance your business and provide genuine value to your clients.
Key Takeaways
- A well-defined strategy that identifies your target audience and core message is the essential first step before you begin creating any video content.
- A compelling script and a clear storyboard are the foundational elements that ensure your final video is concise, engaging, and easy to follow.
- Effective distribution across multiple platforms, including your website, social media, and email newsletters, is critical to maximizing the reach and impact of your videos.
Understanding the Power of Explainer Videos
Before you begin the creation process, it is important to understand why real estate explainer videos are such an effective communication tool. In a world saturated with information, video stands out. It combines visuals, audio, and text to capture and hold attention far better than text alone. For topics that can be dry or complicated—like understanding closing costs or the steps in a title search—a video can make the information more digestible and memorable.
Think of an explainer video as a digital version of you sitting down with a client and walking them through a process on a whiteboard. It simplifies the complex. For real estate agents, brokers, property managers, and investors, this has immense practical application. It allows you to scale your educational efforts, providing consistent and accurate information to every client without repeating yourself endlessly. This frees up your time for more high-value activities, like negotiation and relationship building.
Benefits for Your Real Estate Business
Integrating explainer videos into your business offers a range of direct benefits that contribute to growth and client satisfaction. These videos are not just marketing fluff; they are functional assets that solve real business problems.
- Enhanced Client Education: You can create a library of videos that cover the entire client journey. Imagine sending a first-time buyer a short video explaining what to expect during the home inspection, or providing a seller with a video on how to prepare their home for a showing. This proactive approach helps manage client expectations and reduces anxiety.
- Improved Lead Generation: Explainer videos can be powerful lead magnets. You can offer a valuable video, such as “5 Common Mistakes to Avoid When Selling Your Home,” in exchange for a viewer’s email address. This helps you build a list of potential clients who are actively seeking real estate information.
- Increased Website Engagement: Video content keeps visitors on your website longer. This extended “dwell time” is a positive signal to search engines like Google, which can improve your website’s ranking over time. A page with a relevant video is more likely to hold a visitor’s attention than a page with only text.
- Stronger Brand Authority: When you consistently produce high-quality, helpful content, you build a reputation as a trusted expert. People prefer to work with professionals who are knowledgeable and generous with their expertise. Explainer videos are a perfect way to showcase your command of the real estate business.
Types of Real Estate Explainer Videos
The term “explainer video” can cover a wide range of styles. The right format depends on your topic, your audience, and your brand. Some common and effective types for real estate include:
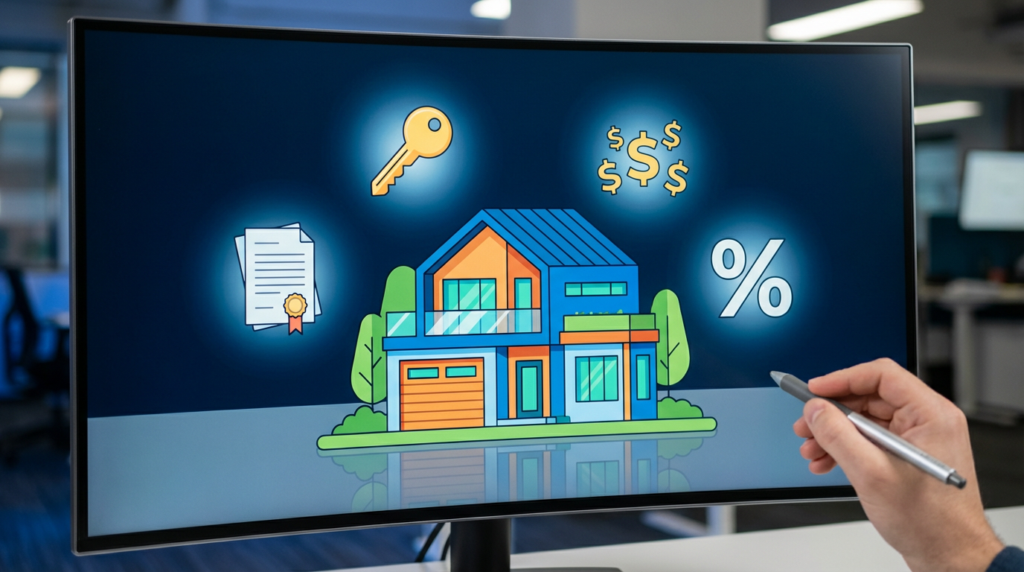
- Animated Videos: 2D or 3D animation is excellent for explaining abstract concepts or processes. For example, an animated video can visually represent how mortgage amortization works or the flow of funds during a real estate transaction. Animation can make complex data feel more approachable.
- Whiteboard Videos: This style mimics the experience of drawing on a whiteboard. As the narrator speaks, a hand draws corresponding images and text. This format is highly engaging because it creates a sense of anticipation as the viewer watches the drawing unfold. It is perfect for step-by-step guides.
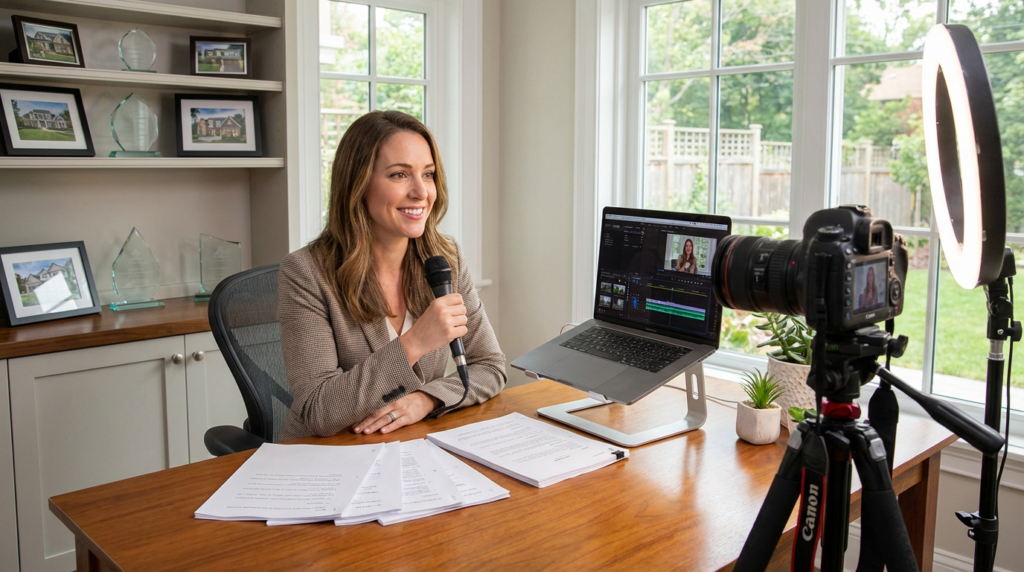
- “Talking Head” Videos: This is a direct-to-camera style where you, the real estate professional, speak to the audience. This format is ideal for building a personal connection and establishing yourself as a friendly, approachable expert. It works well for market updates or for answering frequently asked questions.
- Screen-Capture Videos: If you want to explain how to use a digital tool, such as your website’s home search feature or a mortgage calculator, a screen-capture video is the best choice. You record your screen while your voice-over explains the steps.
You can find excellent examples of different explainer video styles on platforms like Vimeo, which often features high-quality animated and live-action work.
Planning Your Explainer Video Strategy
A successful video is born from a solid strategy. Before you press record or hire an animator, you need to have a clear plan. A strategic approach ensures that every video you create has a specific purpose, speaks to the right audience, and contributes to your overall business goals. Without a plan, you risk creating content that is unfocused and fails to connect with viewers.
Your strategy should be a written document that you can refer to throughout the production process. It will serve as your North Star, keeping your entire team aligned and ensuring the final product is effective.
Identify Your Target Audience and Their Pain Points
The first step is to define exactly who you are trying to reach. Are you creating a video for first-time homebuyers, seasoned investors, or potential sellers? Each audience has different questions, concerns, and levels of knowledge. A video for a first-time buyer might need to explain basic terms like “escrow,” while a video for an investor would focus on more advanced topics like “cap rate.”
Once you know your audience, identify their specific “pain points.” What are the biggest questions they have? What parts of the real estate process cause them the most confusion or stress? Your goal is to create a video that directly addresses one of these pain points. Conduct surveys with past clients or talk to your agents to gather a list of frequently asked questions. This research is invaluable for generating relevant video topics. The content marketing experts at HubSpot offer excellent resources on creating audience personas to guide this process.
Define the Goal and Key Message of Each Video
Every video needs one clear, primary goal. What do you want the viewer to do or understand after watching? The goal should be specific and measurable.
Examples of video goals include:
- To explain the mortgage pre-approval process so the viewer feels confident contacting a lender.
- To demonstrate the value of professional home staging so the seller agrees to invest in it.
- To drive viewers to a landing page on your website where they can download a free homebuyer’s guide.
Once you have a goal, distill your message down to one core idea. An explainer video should not try to cover everything about a topic. It should focus on the most important information. For example, instead of a video titled “Everything About Home Inspections,” create a more focused video like “What to Expect on Inspection Day.” A single, clear message is much more likely to be retained by the viewer.
Choose Your Topics and Create a Content Calendar
Based on your audience research and goals, brainstorm a list of potential video topics. Group these topics into logical categories, which can align with your blog categories. This creates a cohesive content ecosystem where your blog posts and videos support each other.
Organize your topics into a content calendar. This is a schedule that outlines which videos you will produce and when you will publish them. A calendar helps you stay consistent with your content creation and ensures a steady stream of new videos for your audience. You do not need complex software; a simple spreadsheet can work perfectly. Plan your content at least a quarter in advance to give yourself ample time for production. For guidance on building effective content calendars, you can look to resources from organizations like the Content Marketing Institute.
The Production Process: From Script to Screen

With your strategy in place, you are ready to move into the production phase. This is where your ideas come to life. The production process can be broken down into three main stages: pre-production (scripting and storyboarding), production (filming or animation), and post-production (editing and graphics). A methodical approach to each stage is key to creating a professional-quality video.
While you can hire a professional production company, it is also possible to create high-quality explainer videos in-house, especially with the rise of user-friendly software and AI video generation tools.
Step 1: Write a Compelling Script
The script is the backbone of your video. A well-written script is concise, clear, and written in a conversational tone. It should feel like you are speaking directly to one person.
Follow this structure for a strong explainer video script:
- The Hook (0-10 seconds): Start by identifying the viewer’s problem or asking a relatable question. For example, “Are you confused by all the fees listed on your mortgage estimate?” This immediately grabs their attention.
- The Problem (10-20 seconds): Briefly expand on the problem to show you understand their situation. “It can be overwhelming to see a long list of terms like origination fees, title insurance, and appraisal costs.”
- The Solution (20-70 seconds): Introduce your video as the solution. This is the main part of your script where you explain the concept. Use simple language and avoid jargon. Break the information down into three or four key points.
- The Call to Action (70-90 seconds): End your video by telling the viewer exactly what to do next. This should align with the goal you set in your strategy. Examples include “Visit our website to use our mortgage calculator” or “Call us today to schedule a free consultation.”
Read your script out loud to make sure it flows naturally. Aim for a script length of around 200-250 words for a 90-second video. For tips on effective copywriting and scriptwriting, the Copyblogger blog is a long-standing and respected resource.
Step 2: Create a Storyboard
A storyboard is a visual outline of your video. It consists of a series of simple drawings or images that represent each scene, with notes on the corresponding script and any on-screen text or graphics. This step is crucial because it helps you visualize the final product before you invest time and money in animation or filming.
Your storyboard does not need to be a work of art. Simple stick figures are fine. The purpose is to map out the visual flow and ensure that your visuals support your script. For each scene, think about what image will best illustrate the point you are making. For example, if your script mentions “saving for a down payment,” your storyboard might show a drawing of a piggy bank getting larger. This process helps you identify any gaps in your visual storytelling and make adjustments before production begins.
Step 3: Production and Post-Production
This stage will vary greatly depending on the type of video you are creating.
- For Animated Videos: This is where you or your animator will use software to create the visuals and bring them to life. If you are using an AI video platform, you will input your script and select visual styles, and the software will generate the animated scenes.
- For Live-Action Videos: This involves filming your “talking head” segments or any other live scenes. Pay close attention to lighting and audio. Good lighting and clear audio are more important than the quality of the camera itself. A simple lavalier microphone can dramatically improve your sound quality.
- Post-Production: This is the editing phase. You will assemble your footage or animated scenes, add your voice-over, incorporate background music, and add any text or graphic overlays. The goal is to create a polished final product with a professional feel. Keep the editing clean and the pace moving.
For royalty-free music and sound effects, services like Artlist offer extensive libraries for professional use.
Distributing and Promoting Your Videos
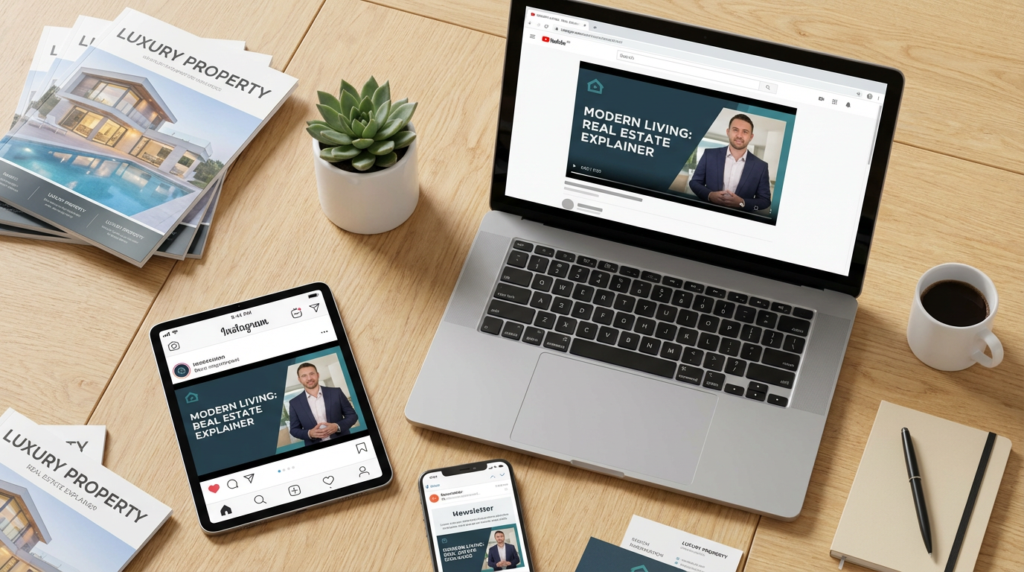
Creating a great video is only half the battle. For your video to achieve its goal, it needs to be seen by your target audience. A strategic distribution plan ensures that your content reaches the right people on the right platforms.
Your distribution strategy should focus on placing your videos where your audience already spends their time. Do not just upload your video to YouTube and hope for the best. Actively promote it across all your marketing channels.
Optimize for Your Website and Blog
Your website should be the primary home for your explainer videos. Create a dedicated video library or resource center where visitors can easily browse your content. When you write a blog post on a topic, embed the corresponding explainer video directly into the article. This provides visitors with multiple ways to consume the information and significantly increases the time they spend on the page.
When you embed videos, make sure the page is mobile-friendly and that the video loads quickly. A slow-loading video will cause many users to leave before it even starts playing.
Leverage Social Media and Email Marketing
Share your videos across your social media channels. On platforms like Facebook and LinkedIn, you can upload the video directly to get better engagement than just posting a link to YouTube. For Instagram and TikTok, create shorter, vertically-oriented clips from your main video to use as teasers. Always include a link back to the full video or a relevant page on your website.
Email marketing is another powerful distribution channel. Send your new videos to your email list of clients and prospects. You can feature a video in your monthly newsletter or create a dedicated email campaign around a particularly valuable video. This is a great way to nurture leads and provide ongoing value to your audience.
Use Video in Your Day-to-Day Workflow
Finally, integrate your explainer videos into your daily communication with clients. When a client asks a question via email, respond with a short note and a link to the explainer video that answers their question. This provides a more thorough and engaging answer than a long text-based email, and it saves you time. You can add links to your most popular videos in your email signature. By making your videos a part of your standard workflow, you can maximize their value and provide a better experience for every client.